Do you know how much it costs to get an idea from your head to your hands? What are the steps that fall in between seeing a need for a product and having a prototype made? Tim has done it several times, and just because you might have done it 10 years ago does not mean you know all there is to know anymore! Oh how things have changed in recent years.
We've written a whole blog on one of our favorite companies, Protolabs, because they are instrumental in bringing down the cost of a 3D printed prototype or a custom mold for injection molding. It used to be painfully normal for a prototype to cost nearly $100,000. That is a huge barrier to entry for just about any small business. Protolabs has brought it down to around $10,000, which is much more manageable for those getting their idea off the ground.
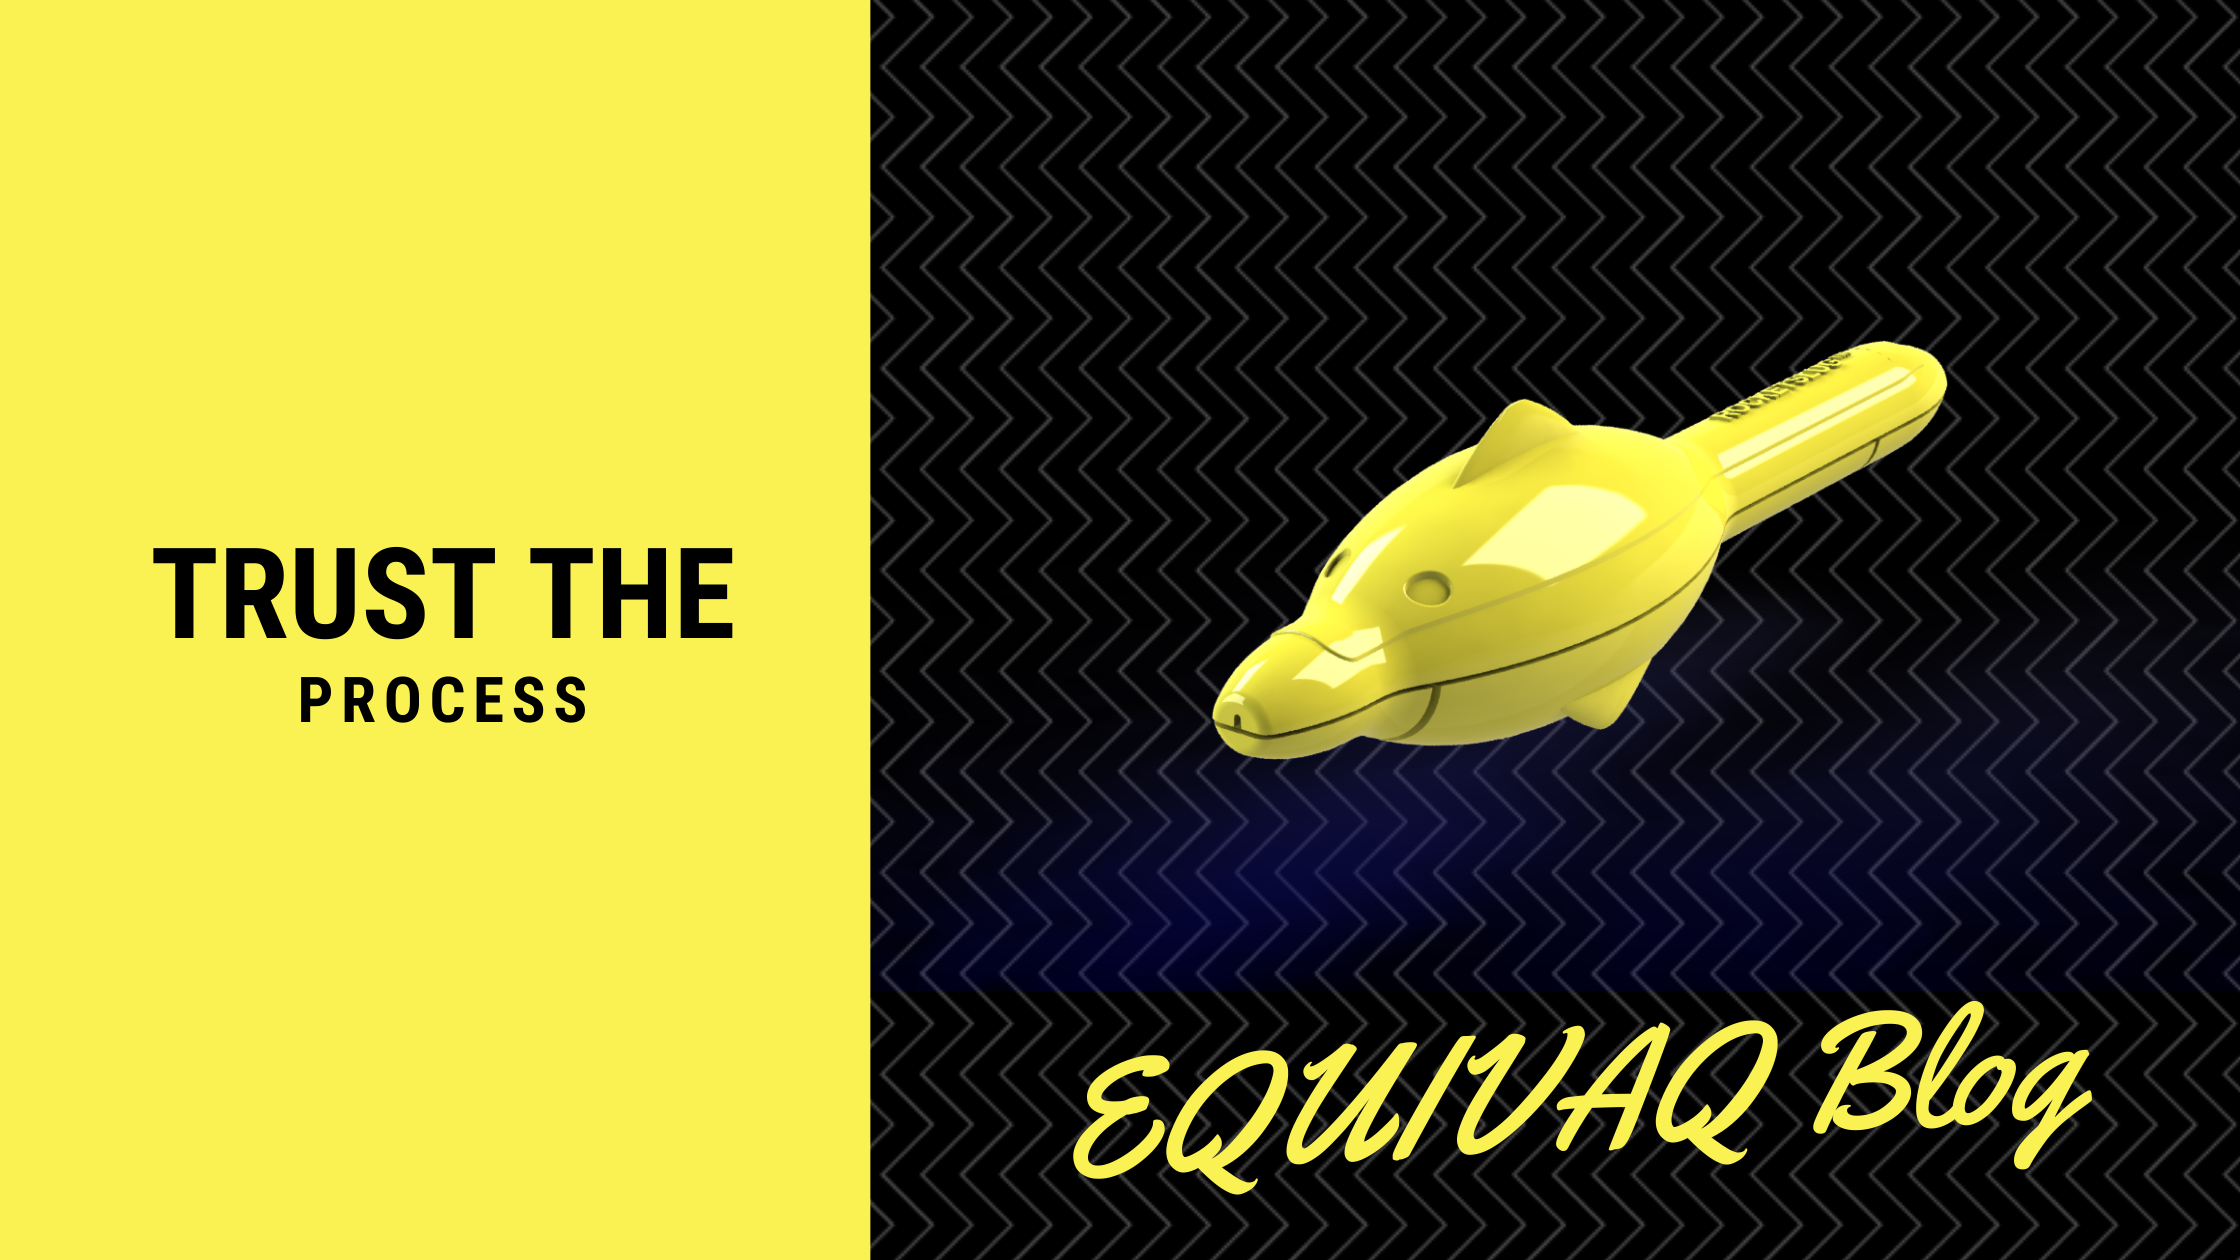
We are lucky enough to have a CAD program right next door so in Tim's latest project, we worked alongside them to get an initial 3D print. That actually sent us back to the drawing board with a couple of changes! We made those changes and now we're approving a more "official" prototype this week. You can check out this project at rocketslug.me to see what we've been cooking up.
First, you need to design your idea. If you have a tech school or college near you with a CAD program, they're usually happy to help! Otherwise, you can find people like Tim who will be happy to help you as well. This is an essential step in the process because everything going forward will be based on this. CAD is the best because it's the most up-to-date, but we're pretty sentimental and have a soft spot for hand-drawn renderings as well. Either way, it will more than likely need to go through the CAD process at some point!
Next, find someone to make it come to life. You'll want a 3D print or go straight into a prototype to get your hands on the idea. Make changes, and go forward from there! Protolabs is a good resource for this, but we've also used local CAD departments as well, and another local company Tech Inc. to assist. It doesn't have to be an astronomical expense! Look around, see who can help.
After that, you can hit the ground running. Launch your business, get started on production, find more funding, whatever it is that your path requires, you're now ready to take the leap! This process will be different for everyone and every product, but be patient, don't be afraid to ask for help, and be consistent. You'll do great, we know it!
It's hard to know all of the steps you need to take when creating something, especially if you've never done it before. If you are in the beginning stages of a new product and have questions, shoot Tim an email or schedule a meeting with him. Tim's design experience ranges from DARPA projects to working with FLIR technologies, and even designing a K9 collar for the United States Military! Check out his design portfolio here. He can help walk you through the steps you'll need to take, and he can provide some awesome connections, resources, and tips to get you started!